Table of Contents
Starting an online business sounds exciting — until you open a browser tab, search “how to make a Shopify store,” and suddenly find yourself drowning in conflicting tutorials, feature lists, and app recommendations. Sound familiar?
Here’s the truth: making a Shopify store does not have to be complicated. With the right roadmap, you can go from zero to a fully functional online store without the stress. This guide cuts through the noise and walks you through every essential step — clearly, simply, and in the right order.
Table of Contents
Why Shopify Remains the Go-To Platform

Before diving into the steps, it helps to understand why so many entrepreneurs choose Shopify to make a store. Until now, Shopify has powered over 4.9 million merchants worldwide, serving customers across more than 175 countries. Its drag-and-drop editor, built-in payment system, and growing suite of AI tools make it uniquely accessible for beginners while remaining powerful enough for scaling brands.
Unlike WordPress or WooCommerce, Shopify handles the technical infrastructure for you — hosting, security, and software updates are all managed behind the scenes. That means you can focus entirely on your products and customers rather than server settings.
Step 1: Start Your Free Trial and Name Your Store
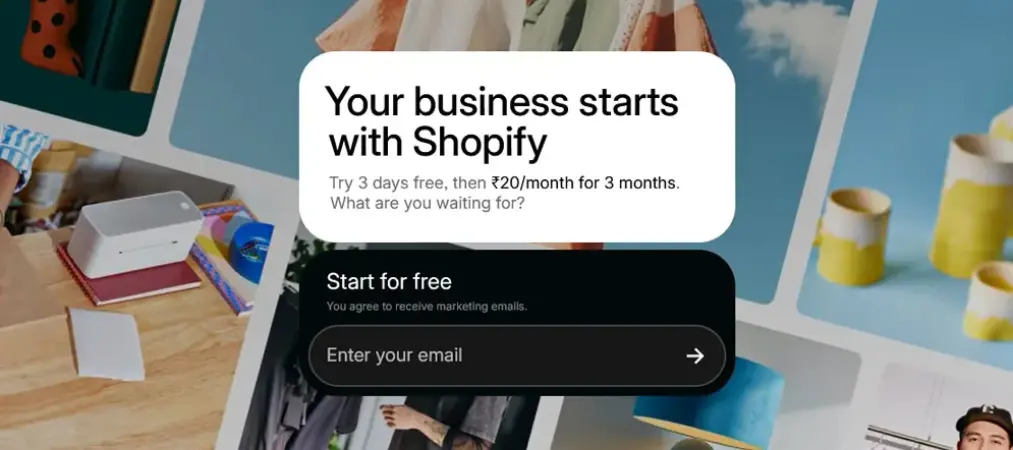
Head to Shopify.com and click “Start free trial.” You will be asked for your email address, a password, and a store name. Choose your store name carefully — it becomes part of your default Shopify domain (e.g., yourstorename.myshopify.com) and sets the tone for your brand.
Shopify will then ask a few quick questions about your business stage and goals. Answer honestly — these responses help the platform personalize your dashboard and suggest relevant features from the start.
Pro tip: You do not need a custom domain right away. Focus on getting your store built first, then connect your domain before launch.
Step 2: Pick a Theme That Works for Your Brand

Your store’s visual design is the first thing customers notice. Fortunately, Shopify make a store process includes a robust theme library with both free and premium options.
Navigate to Online Store > Themes in your Shopify admin. Shopify’s free Horizon theme collection — including variations like Fabric, Savor, and Atelier — offers polished, conversion-ready designs at no extra cost. Browse by industry or style, preview themes on your store, and install the one that best matches your brand aesthetic.
Once installed, use the theme editor to customize colors, fonts, and section layouts. You do not need any coding knowledge — every element is drag-and-drop.
Step 3: Add Your Products the Right Way
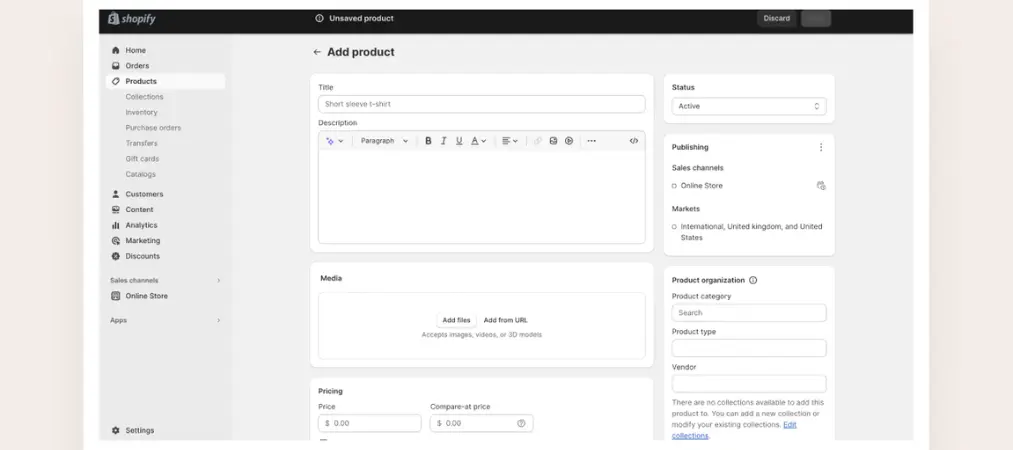
Go to Products > Add Product in your admin panel. For each product, include:
- A clear, benefit-focused product title
- A detailed description that answers customer questions
- High-quality images from multiple angles
- Accurate pricing and inventory quantities
- Variants (size, color, etc.) if applicable
Nowadays, Shopify’s built-in AI writing assistant can help you generate product descriptions quickly. Use it as a starting point, then edit to match your brand voice. Strong product pages are one of the biggest factors in whether visitors convert into buyers.
Organize your products into Collections — for example, “New Arrivals,” “Best Sellers,” or category-based groups. Collections make navigation intuitive and help customers find what they’re looking for faster.
Once your products are live, keeping your order documents organized becomes just as important. Learn how a Shopify invoice generator can save you hours each week and keep your store looking professional from day one.
Step 4: Set Up Payments, Shipping, and Taxes
This is where many beginners get stuck, but it is simpler than it looks.
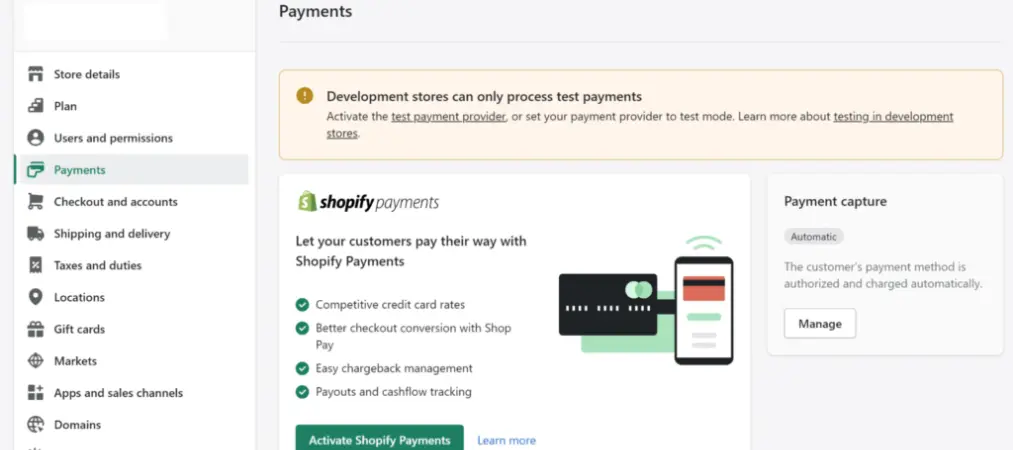
Payments: Go to Settings > Payments. Shopify Payments is the fastest option — it is built in, requires no third-party account, and supports major credit cards, Apple Pay, and Google Pay. If Shopify Payments is not available in your region, PayPal or Stripe are reliable alternatives.
Shipping: Navigate to Settings > Shipping and Delivery. Create shipping zones based on where you plan to sell — locally, nationally, or internationally. Set flat-rate, weight-based, or free shipping options depending on your strategy. Offering free shipping above a certain order value is a proven tactic to increase average order size.
Taxes: Shopify can automatically calculate taxes based on your store location and customer location. Enable this under Settings > Taxes and Duties to stay compliant without doing manual calculations.
Step 5: Build the Pages That Build Trust

A store with only product pages feels incomplete — and incomplete stores lose sales. Before launch, create the following essential pages:
- About Us — Tell your brand story. Why did you start this business? What do you stand for? Authenticity builds connection.
- Contact Page — Make it easy for customers to reach you. Include a form, email address, or live chat option.
- FAQ Page — Pre-answer the questions shoppers ask most: shipping times, return policy, sizing guides.
- Policy Pages — Privacy policy, terms of service, and refund policy are non-negotiable. Shopify provides templates you can customize under Settings > Policies.
These pages signal legitimacy. Shoppers check them before buying — especially from stores they have never heard of.
Step 6: Install Only the Apps You Actually Need
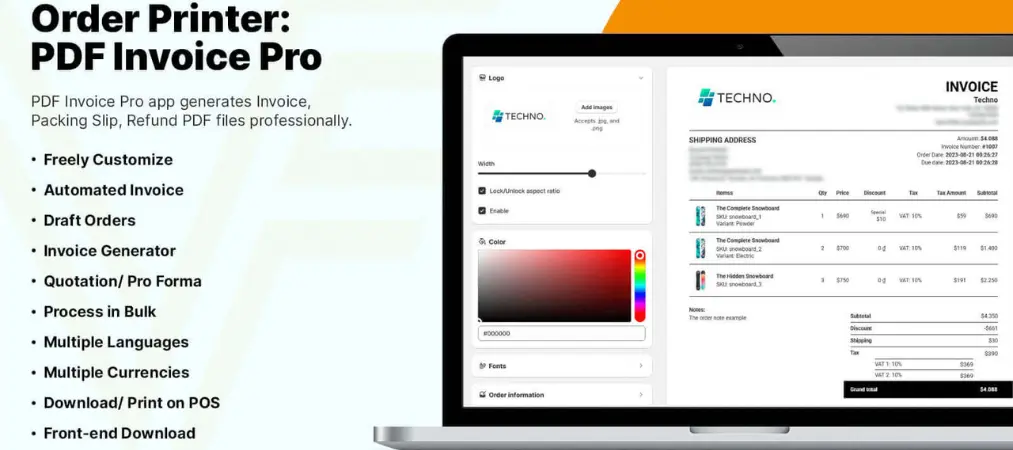
The Shopify App Store has thousands of options, and it is tempting to install everything. Resist that urge. Too many apps slow down your store and complicate your workflow.
For a clean launch, focus on four categories:
- SEO: An app like Plug in SEO or SEO Manager helps optimize your pages for search engines from day one.
- Email Marketing: Klaviyo or Shopify Email lets you capture leads and send automated welcome sequences.
- Reviews: A product review app like Judge.me builds social proof and increases conversions.
- Speed & UX: A page speed booster app ensures your store loads fast on mobile — critical since most shoppers browse on their phones.
Add more apps as your store grows and specific needs emerge.
Before finalizing your app stack, it’s also worth reviewing the must-know Shopify features for store owners to make sure you’re not missing any built-in tools that could save you money on third-party apps.
Step 7: Test Everything Before You Go Live
Before removing the password protection and opening your store to the public, run through this checklist:
- Place a test order using Shopify’s Bogus Gateway to verify checkout works end to end
- View every page on mobile and desktop
- Check that all navigation links work correctly
- Confirm your shipping rates calculate accurately at checkout
- Review all product images for quality and correct orientation
- Proofread product descriptions and policy pages
A smooth checkout experience is essential. One broken link or confusing step can cost you a sale you worked hard to earn.
Step 8: Connect Your Domain and Launch
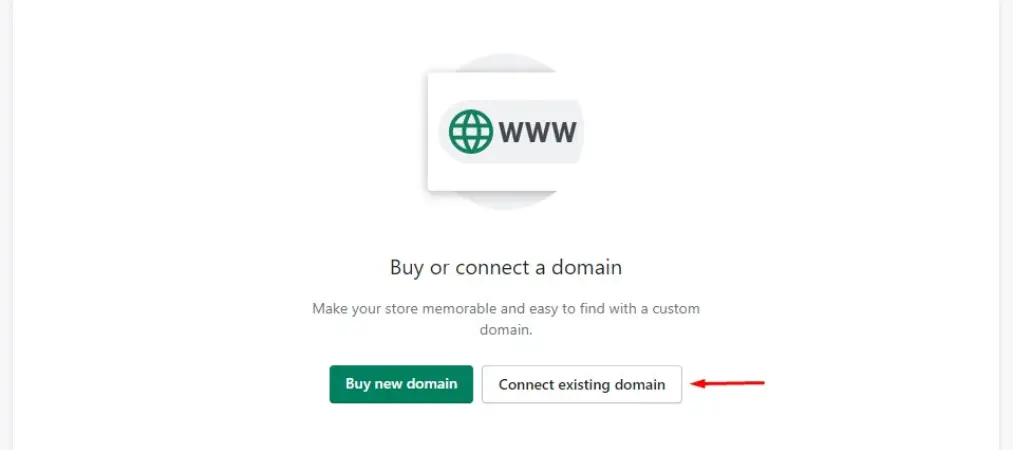
Purchase a custom domain through Shopify (Settings > Domains) or connect one you already own from a provider like GoDaddy or Namecheap. A custom domain — like yourstore.com — immediately makes your business look more professional and trustworthy.
Once your domain is connected, go to Online Store > Preferences and remove the password protection. Your store is now live. Share it with your network, run a launch promotion, and start driving traffic through social media, email, or paid ads.
Frequently Asked Questions

Q1: How long does it take to make a Shopify store?
Most beginners can set up a basic Shopify store in a single day. If you already have your product images and descriptions ready, you can go from signup to a live storefront in just a few hours. A more polished, fully optimized store typically takes 3 to 7 days.
Q2: How much does it cost to make a Shopify store?
Shopify offers a free trial, followed by plans starting at $39/month (Basic). You can reduce early costs significantly — Shopify frequently runs a $1/month promotion for the first three months. Additional costs to consider include a custom domain (around $14/year) and any premium apps you choose to install.
Q3: Do I need coding skills to make a Shopify store?
No. Shopify is built for non-developers. Its drag-and-drop theme editor lets you customize your store’s layout, colors, fonts, and sections without writing a single line of code. Advanced customizations are possible with code, but they are entirely optional.
Q4: Can I make a Shopify store with no products yet?
Yes. You can set up your entire Shopify store — theme, pages, navigation, and settings — before adding any products. Many merchants build their storefront first, then add products as they finalize their supplier or production process.
Q5: What is the difference between a Shopify store and a regular website?
A regular website is built primarily for information. A Shopify store is purpose-built for selling — it includes a shopping cart, secure checkout, payment processing, inventory management, and order tracking all out of the box. It is a complete commerce system, not just a website.
The Mindset Shift That Changes Everything
Here is what most tutorials skip: how to make a Shopify store, when you Shopify make a store for the first time, it will never feel 100% ready. There will always be one more tweak you want to make. Launch anyway.
Your first version does not need to be perfect — it needs to exist. Real customer feedback will teach you more than any tutorial, and Shopify makes it easy to update, adjust, and improve your store after launch.
The overwhelm you feel before starting disappears the moment you take the first step. Open your free trial, pick a theme, and build. You are closer than you think.
And if you’re looking to streamline your order management and printing process once your store is live, check out Vify Order Printer — a powerful tool built specifically for Shopify merchants who want professional invoices and packing slips without the hassle.