Table of Contents
Starting an online business has never been more accessible — and Shopify remains one of the most beginner-friendly platforms to make it happen. Whether you have a product ready to sell or you’re still testing the waters, knowing how to create a Shopify store is a foundational skill every modern entrepreneur needs. This guide walks you through every critical step, with practical tips you won’t find in the average tutorial.
Table of Contents
Why Shopify Beats the Alternatives for New Sellers

Before diving into the how-to, it’s worth understanding why Shopify stands out when you decide to shopify create a store.
Platforms like Amazon, Etsy, and eBay are marketplaces — you’re renting a shelf inside someone else’s store. Your brand identity is limited, competition is fierce, and you’re playing by their rules. WooCommerce offers more flexibility but requires WordPress experience and ongoing technical maintenance that can be frustrating for beginners.
Shopify gives you something neither of those options can: full ownership. You control your storefront, your branding, your customer data, and your product narrative. When someone searches Google for a product you sell, your Shopify store can show up — not a marketplace listing buried among hundreds of competitors. That’s a game-changer for long-term brand building.
There’s also the cost factor. You can trial Shopify for free, meaning you can build out your entire store, add products, and configure settings before spending a single dollar. For anyone unsure whether ecommerce is right for them, this is an incredibly low-risk starting point.
What You Need Before You Begin
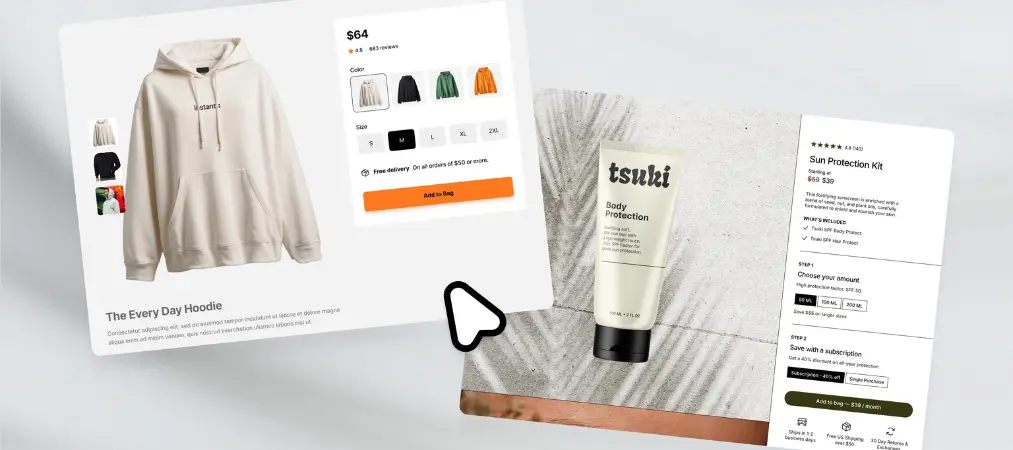
Many guides jump straight into the dashboard. But a few minutes of preparation upfront will save you hours of rework later. Before you create a Shopify store, make sure you have:
A clear store concept. What are you selling? Who are you selling to? The more specific your niche, the easier it is to write compelling product descriptions and choose the right theme.
A store name. Your name needs to be unique within Shopify’s system. Spend time brainstorming options that are short, memorable, and ideally reflect what you sell. Avoid names that are difficult to spell or that box you into a single product category.
A business address. Shopify requires a valid address for billing and accountability purposes. If you work from home and want to protect your privacy, a PO box works perfectly.
High-quality product images. Poor photography is one of the most common reasons potential customers abandon a store without buying. Even a decent smartphone with good natural lighting can produce professional-looking shots — but whatever you use, make it intentional.
Step-by-Step: How to Create a Shopify Store
Step 1 — Sign Up and Name Your Store
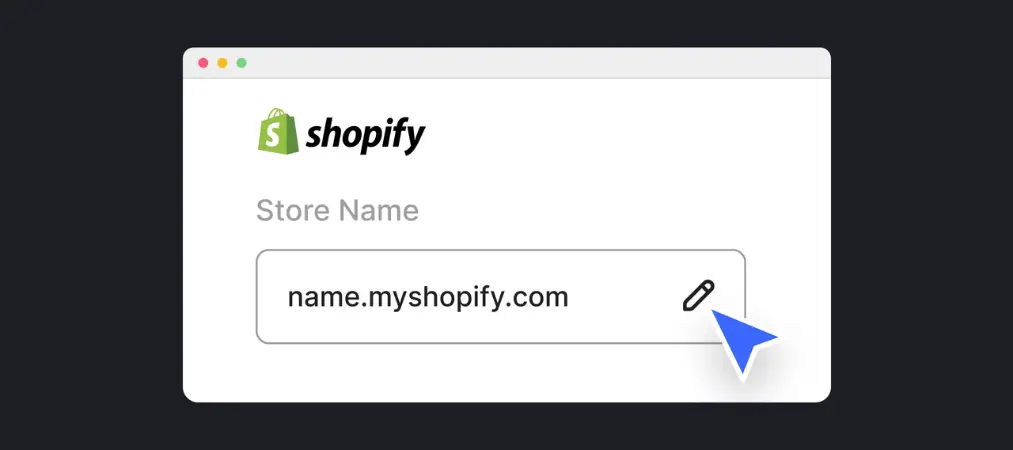
Head to Shopify.com and click the “Start free trial” button. Enter your email address, create a strong password (use a mix of characters, numbers, and symbols), and choose your store name.
Once you click through, Shopify will ask a few quick questions about your business — whether you’re already selling, what you plan to sell, and your revenue range. Answer honestly; this helps Shopify tailor your dashboard experience.
After that, enter your billing address. You won’t be charged during your free trial, but the address is required to activate your account.
Step 2 — Explore and Configure Your Dashboard
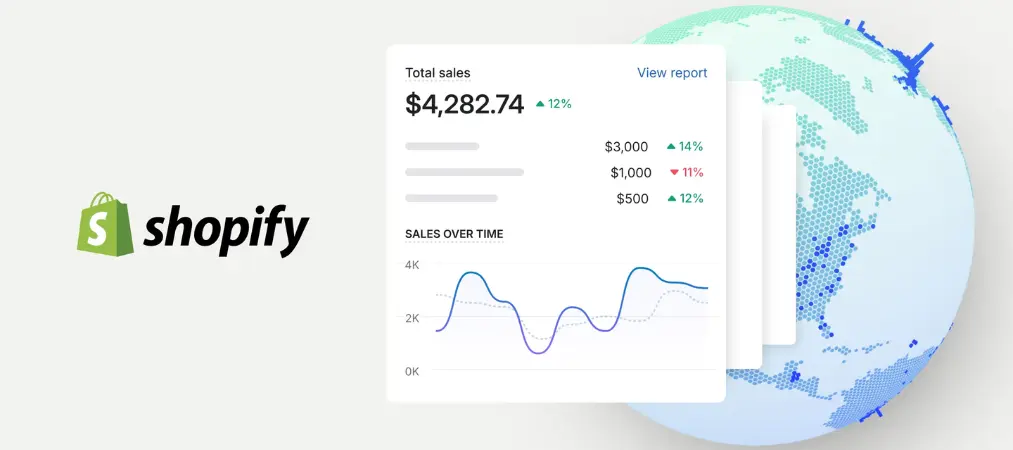
Your Shopify admin panel is your command center. Spend a few minutes clicking through the main navigation sections before making any major decisions:
Home shows a summary of your store activity. Orders is where you’ll manage incoming purchases. Products is where you create and manage your catalog. Customers stores contact information for everyone who buys from you. Analytics gives you a breakdown of sales, traffic, and conversion data. Settings is where you control everything from taxes and shipping to payment methods and store policies.
Enable two-step authentication as your very first action inside Settings. This adds a second login verification layer using your phone, making your account significantly harder to compromise. It takes two minutes and protects your entire business.
Step 3 — Choose and Customize Your Theme
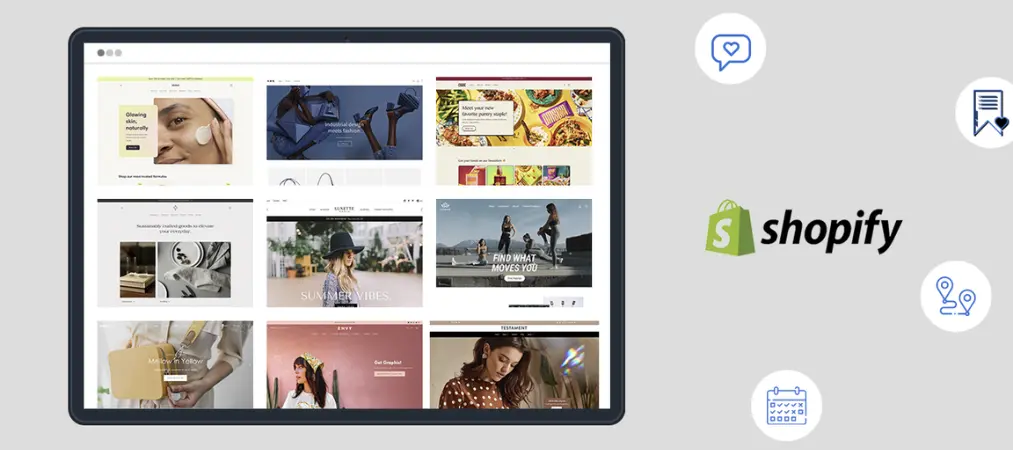
Your store’s visual identity starts with the theme. Shopify’s free theme library includes well-designed, mobile-responsive options that work for a wide range of product categories. For most new stores, a free theme is more than sufficient.
To access themes, go to Online Store in the left navigation, then Themes. Browse the free options and click “Add” on the one that best matches your brand aesthetic. From there, the theme editor lets you customize colors, fonts, banner images, featured sections, and your homepage layout — all without touching any code.
A few design principles to keep in mind: use no more than two or three brand colors consistently, choose a font pairing that’s readable at small sizes, and make sure your homepage communicates what you sell within the first three seconds of a visitor arriving.
Once your theme is live, make sure you also explore the must-know Shopify features for store owners that can help you unlock the full potential of your dashboard from day one.
Step 4 — Build Out Your Product Listings

This is where the real work happens. Navigate to Products and click “Add product.” Fill in every field with care — this directly impacts both your SEO rankings and your conversion rate.
The product title should reflect how your ideal customer would search for the item. Plain, descriptive language beats clever wordplay every time for search engines. If you sell handmade soy candles, “Lavender Soy Candle — Hand-Poured, 8 oz” is far more searchable than “Evening Glow.”
Write product descriptions that answer the questions a customer would ask before buying: What is it made of? How does it work? What size or variant options exist? What problem does it solve? Aim for at least 150–300 words per product, naturally weaving in relevant keywords without forcing them.
Upload multiple high-quality images from different angles. Add pricing, set your inventory quantity, assign a product weight for shipping purposes, and configure any variants like size or color. Finally, scroll to the SEO preview section at the bottom of the product page and write a custom meta title and description for each product.
Step 5 — Configure Payments and Shipping
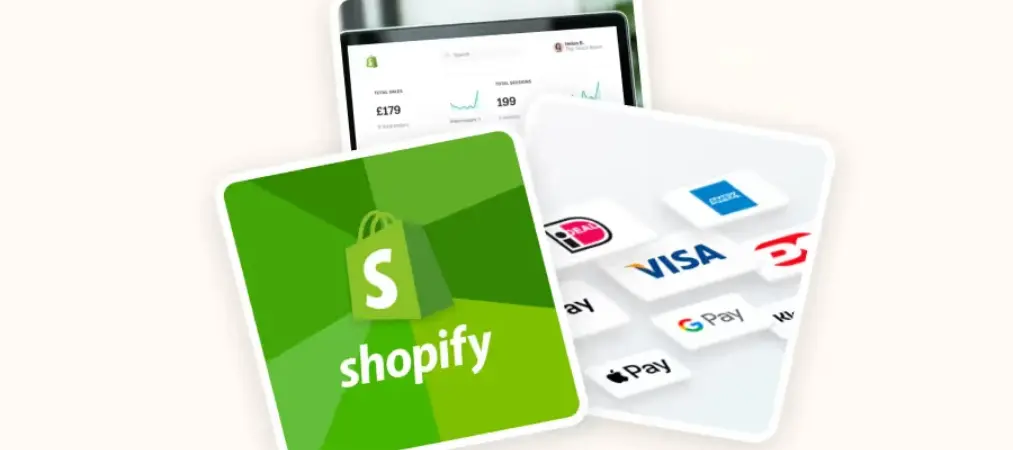
Go to Settings, then Payments, to set up how you’ll accept money. Shopify Payments is the native option and the simplest to activate — it accepts major credit cards and integrates directly with your dashboard, with no third-party account needed. If Shopify Payments isn’t available in your region, PayPal and Stripe are reliable alternatives.
For shipping, go to Settings then Shipping and Delivery. Set up shipping zones based on where you’ll be sending orders. You can offer flat-rate shipping, free shipping above a certain order value, or real-time calculated rates based on package weight. Many stores find that offering free shipping above a threshold (e.g., free shipping on orders over $50) increases average order value significantly.
As your order volume grows, you’ll also want a reliable way to handle documentation — a Shopify invoice generator can automate your invoices, packing slips, and receipts so nothing falls through the cracks.
Step 6 — Run a Test Order Before You Launch
Before going live, verify that your checkout process actually works. In Settings, go to Payments and temporarily activate the “Bogus Gateway” under third-party providers. This is Shopify’s built-in test system that simulates a real transaction without charging any card.
Go to your storefront as a customer would, add a product to your cart, proceed through checkout, and enter “Bogus Gateway” as the card name. Use card number “1” to simulate a successful transaction. Check that the order appears in your dashboard, that confirmation emails send correctly, and that inventory counts adjust as expected.
Once you’ve confirmed everything works, deactivate the Bogus Gateway and switch back to your real payment provider before launching.
Step 7 — Add a Custom Domain and Go Live
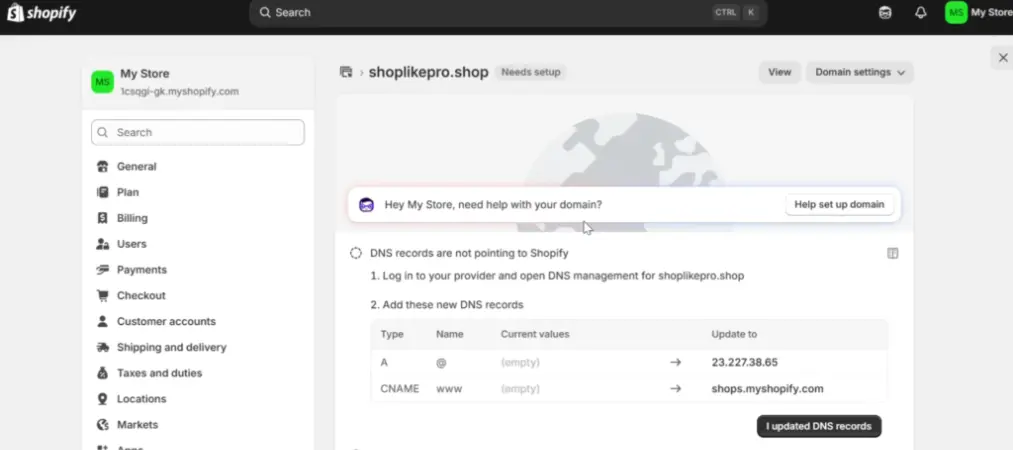
Your default Shopify URL follows the format yourstore.myshopify.com. While functional, it signals to customers that your store is new and potentially unestablished. A custom domain — like yourstore.com — builds immediate credibility.
You can purchase a domain directly through Shopify for around $14 per year, or connect a domain purchased from a registrar like Namecheap or GoDaddy. Shopify’s domain connection process is straightforward and includes automatic SSL certification, which means your site will display the padlock icon in browsers — an important trust signal for shoppers.
Once your domain is connected and your payment methods are live, you’re ready to remove the password protection on your store (found under Online Store → Preferences) and open your doors.
After Launch: What Most Guides Skip

The post-launch phase is where stores succeed or stall, and it rarely gets enough attention in setup tutorials.
Your product pages need continuous optimization. Use Shopify’s built-in analytics to identify which products get the most views but the fewest purchases — those pages likely have weak descriptions, poor images, or confusing pricing. Fix them iteratively.
Invest time in building SEO from day one. Write a blog connected to your store, targeting questions your customers are already asking. If you sell skincare products, a post titled “How to Build a Nighttime Skincare Routine for Dry Skin” can drive organic traffic that converts. Shopify has a built-in blog feature — use it consistently.
Email marketing is the highest-ROI channel for most Shopify stores. Apps like Klaviyo or Mailchimp integrate directly with Shopify and let you automate welcome sequences, abandoned cart reminders, and post-purchase follow-ups. Build your email list from the first day.
As your sales volume grows, your inventory management needs grow with it. Shopify’s native inventory tools are adequate at low volumes but become limiting as you scale — especially if you’re managing multiple SKUs, variants, or production runs. This is the point where integrating a dedicated inventory management platform becomes worth the investment.
Quick-Reference Launch Checklist

Before you officially open your Shopify store to the public, confirm the following:
Your store name is finalized and a custom domain is connected. At least 5–10 products are listed with complete descriptions, pricing, and images. A free theme is installed and customized to match your brand. Payment providers are active and tested via a test order. Shipping zones and rates are configured. Your About page and refund/shipping policy pages are written. Two-step authentication is enabled on your account. Google Analytics or Shopify’s built-in analytics is set up.
Final Thoughts
Learning how to create a Shopify store is genuinely within reach for anyone — no technical background required, no huge upfront investment, and no need to hire an agency to get started. The platform is designed to get you from zero to live in under a day.
What separates stores that thrive from stores that sit dormant isn’t the setup itself — it’s the consistency applied after launch. Strong product content, active SEO, email list building, and smart inventory management are the levers that turn a new Shopify store into a sustainable business. Get the foundation right, then keep building.
If you want to know about how to set up a Shopify store, you can check our other articles on our website here: orderprinter.vify.io.