Table of Contents
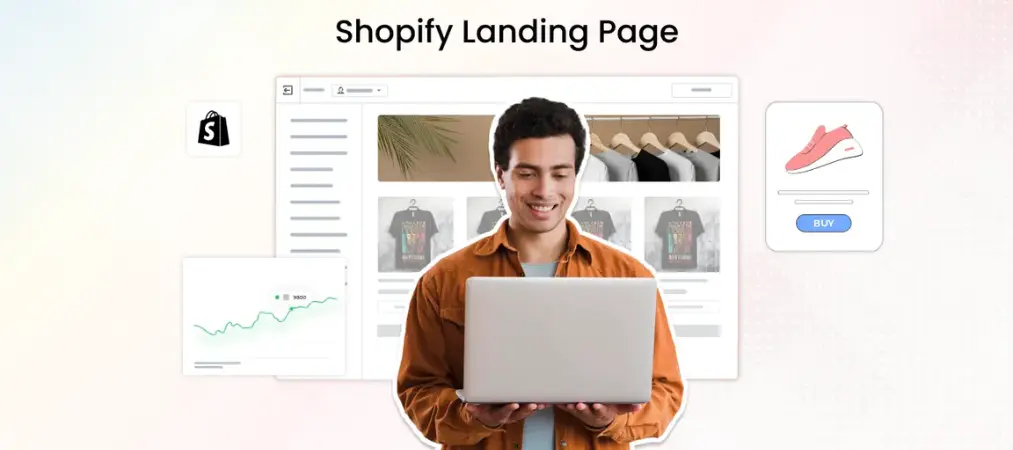
Shopify is built around product pages and collections, not standalone campaign pages. There’s no single “Add Landing Page” button waiting in your admin. But that doesn’t mean you can’t build one — it just means you need to know which approach fits your situation.
This guide breaks down exactly how to create a landing page on Shopify, comparing the three main methods, walking through the setup process, and covering what separates a landing page that converts from one that just sits there.
Table of Contents
Does Shopify Work Well for Landing Pages?
Yes, and the biggest advantage is built-in integration. A page created inside Shopify automatically connects to your store’s checkout, product catalog, and existing theme styling — you’re not stitching together a separate tool through an API.
The trade-off is that Shopify doesn’t hand you a blank canvas. Every new page defaults to your theme’s standard template, which usually amounts to little more than a plain text block. To get a real, custom-built layout, you need to add structure through sections, code, or an app.
Three Ways to Build a Shopify Landing Page
There’s more than one route for how to create a Shopify landing page, and the right one depends on your comfort level with design tools and your budget.
1. Theme editor sections (no coding required)
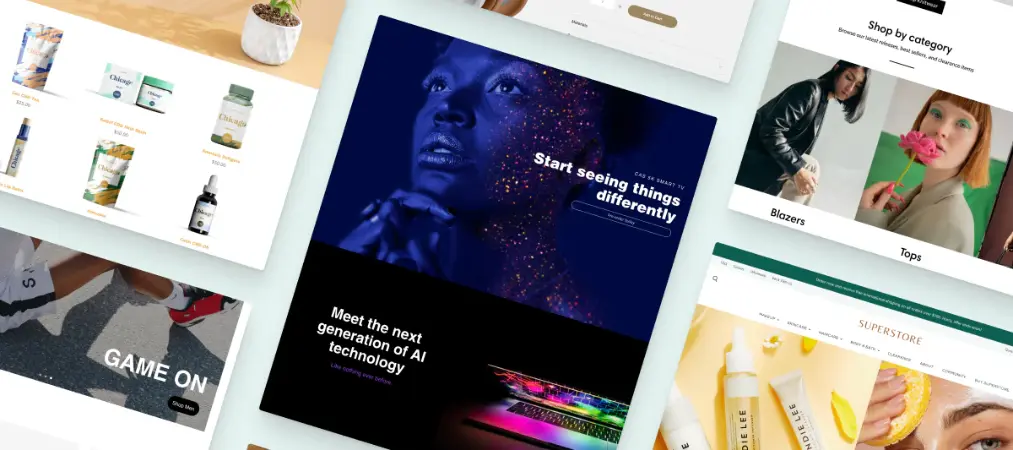
Shopify‘s built-in customizer lets you assemble a page from your theme’s pre-made sections — hero banners, image galleries, testimonial blocks, countdown timers, and more.
This works best for straightforward campaign pages where your theme already has the section types you need. The catch: you’re limited to what your theme ships with. If you want a section style that doesn’t exist in your library, the editor alone won’t get you there.
2. Custom code templates (developer skill needed)
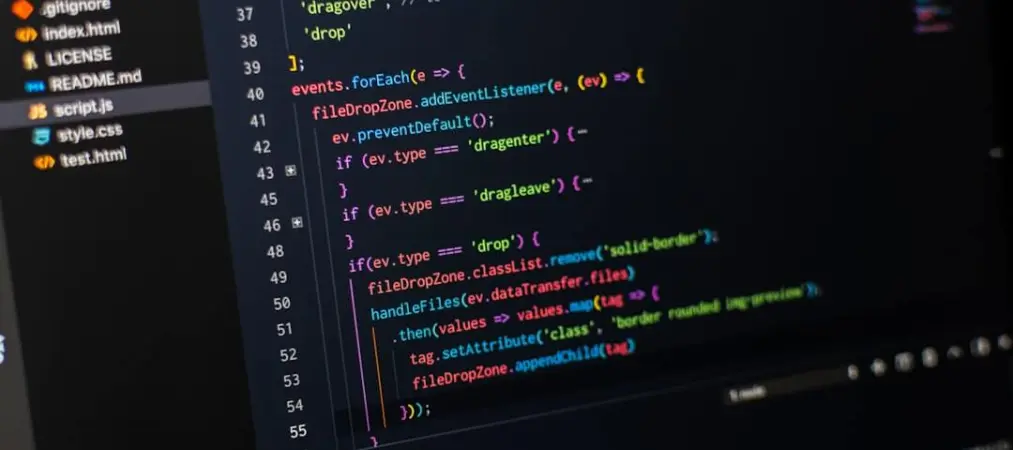
For full design freedom, you can build a custom page template directly in the code editor (Online Store → Themes → Edit code), using Liquid, HTML, and CSS to design exactly what you envision.
This route suits stores with an in-house developer or a merchant who’s comfortable working in Shopify’s templating language. One important caution: editing theme code carries real risk, so always duplicate your theme before making changes.
3. Page builder apps (no code, more flexibility)
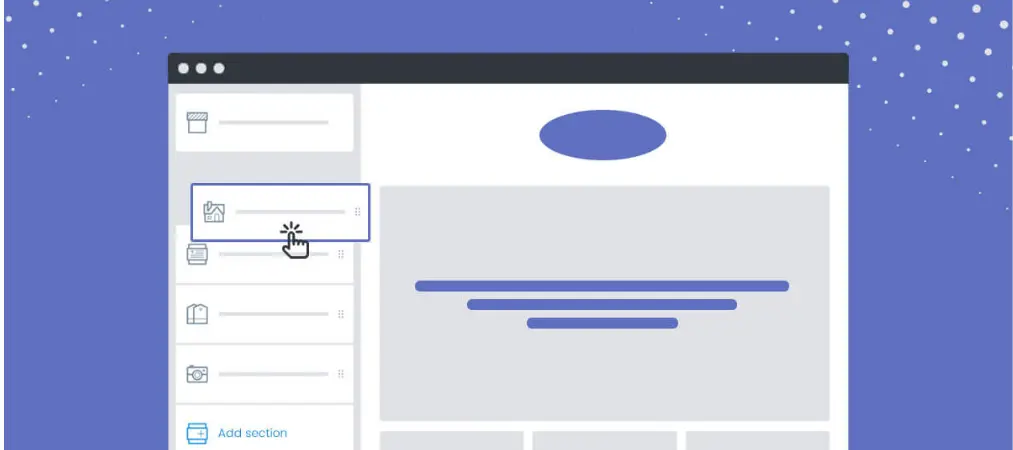
Drag-and-drop page builder apps sit between the two extremes above. They give you a visual editor with a much wider library of layout elements than your default theme, without requiring any code. This is often the fastest way to build a unique-looking page if your theme’s native sections feel too limited but hiring a developer isn’t on the table.
How to Create a Landing Page on Shopify Step by Step
If you’re going the theme editor route — the most common starting point for most merchants — here’s the process for creating a landing page in Shopify:
Step 1 — Create a new page. In your admin, go to Online Store → Pages → Add page. Give it a clear, short title and leave the content area empty for now.
Step 2 — Assign the right template. Most Online Store 2.0 themes support full section-based customization on standard pages. Save the page once you’ve set it up.
Step 3 — Open the theme customizer. Navigate to Online Store → Themes → Customize, then use the page selector at the top to find the page you just created.
Step 4 — Add and arrange sections. Build the layout by adding sections from the sidebar — hero images, feature blocks, CTAs, testimonials — then drag them into the order that makes sense. For a tighter, distraction-free experience, consider hiding the header or footer on this page.
Step 5 — Publish. Once the layout looks right, your page goes live at yourstore.com/pages/your-page-slug.
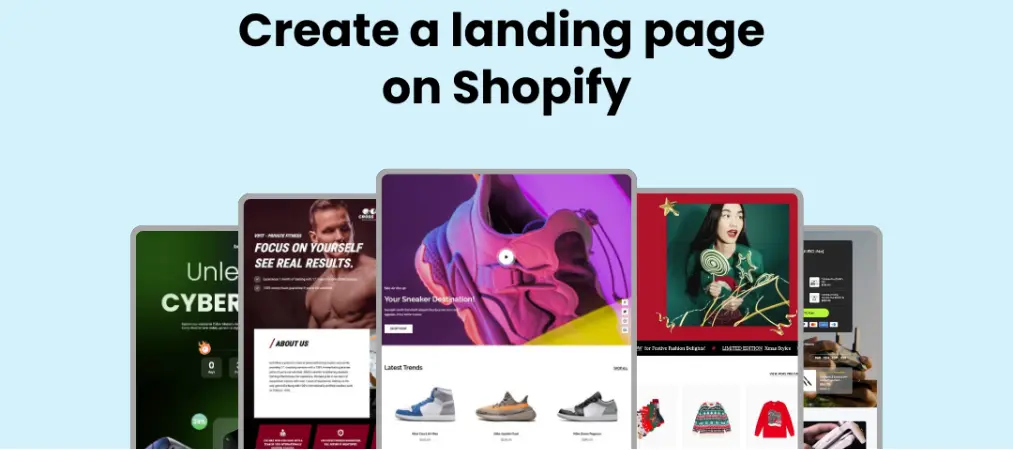
If your theme’s section options feel restrictive at this stage, it may be worth comparing a few well-designed Shopify storefronts for inspiration on what’s possible with the right layout choices before deciding whether to switch themes or bring in a page builder app.
What Makes a Shopify Landing Page Actually Convert
Regardless of which build method you choose, the pages that perform well tend to share the same traits:
- A single goal. Every element should point toward one action — buy, sign up, or claim an offer. Stacking multiple competing CTAs splits attention and lowers conversions.
- A strong above-the-fold hook. Visitors should immediately understand what the offer is and why it matters, without scrolling.
- Minimal navigation. Hiding your site header and footer on paid-traffic pages keeps visitors from wandering off before converting.
- Social proof near the CTA. Star ratings, reviews, or trust badges placed close to the buy button reduce last-minute hesitation.
- Mobile-first design. Since most Shopify traffic arrives on mobile, always preview your page on a phone before publishing.
Shopify Landing Page vs. a Regular Website Page
A standard website page — like your homepage or About page — is built for general browsing. It introduces your brand and helps visitors explore freely.
A Shopify landing page, by contrast, is built for one specific audience arriving from one specific source — an ad, an email, a social post — with a single job: convert that traffic. In practice, this means a tighter layout, little to no navigation, and one clear CTA, usually tied to a specific product or promotion rather than your full catalog.
If you’re still building out your core store before layering on campaign-specific pages, it helps to follow a complete Shopify store setup guide first, since landing pages perform best once your main policies, navigation, and product pages are already in place.
Tracking Performance on Your Landing Page
Connect Google Analytics 4 through Google Tag Manager to monitor how your landing page performs. Watch conversion rate, bounce rate, and average session duration as your core metrics. For paid campaigns, attach UTM parameters to your ad links (for example, ?utm_source=meta&utm_campaign=summer-sale) so you can isolate landing page traffic in GA4 and see exactly which campaigns are driving results.
Should a Landing Page Appear in Your Navigation?
Generally, no. Landing pages are designed to receive direct traffic from ads or emails rather than being browsed to from your main menu — adding them there dilutes the focused experience you built. Link to the page directly from your ad, email, or social post instead. If it does need to be discoverable on-site, a footer link is a better fit than your primary navigation.
Frequently Asked Questions
How many CTAs should a Shopify landing page have?
Stick to one primary action, repeated across the hero, mid-page, and bottom of the page. Offering several different CTAs (“Buy,” “Learn More,” “Sign Up”) splits attention and tends to lower conversion rates.
Should Shopify landing pages be indexed by search engines?
It depends on the page’s lifespan. Evergreen pages built around a permanent offer are worth indexing for organic traffic. Short-lived paid campaign pages are better set to noindex, since they can otherwise create thin or duplicate content that drags down overall site quality.
Can I A/B test two versions of a landing page?
Yes. Common approaches include splitting ad traffic across two separate URLs, using your theme’s built-in testing tools, or relying on a third-party testing app that swaps content client-side. For paid traffic specifically, splitting at the ad level usually gives cleaner data.
What URL structure should I use?
Standard pages live under /pages/your-handle. Use /pages/ for content-driven landing pages, and reserve /collections/ for pages that are essentially curated product lists. Keep handles short and descriptive rather than version-stamped.
Wrap Up
Learning how to build a landing page on Shopify comes down to choosing the right method for your skill level and goals, then focusing relentlessly on a single conversion goal once the page is live. Whether you stick with theme editor sections, dive into custom code, or bring in a page builder app, the fundamentals stay the same: one offer, one CTA, and a layout that gets out of the customer’s way.
Once your landing page starts converting traffic into orders, it’s worth making sure the rest of the post-purchase experience feels just as polished — tools like Vify Order Printer can help you generate clean, professional invoices automatically so customers get the same level of care after checkout that brought them there in the first place.