Table of Contents
Starting an online business has never been more accessible. Whether you’re selling handmade crafts, digital products, or dropshipping goods, Shopify gives you a powerful platform to build, manage, and grow your store — without needing to write a single line of code. But knowing where to begin can feel overwhelming.
This guide walks you through exactly how to set up a Shopify store, covering every key step from creating your account to taking your first order. By the end, you’ll have a fully functional store ready to go live.
Table of Contents
What You Need Before Getting Started

Before you dive in, having a clear picture of your business will save you time and unnecessary rework later. Think through:
- Your niche and product catalog — what you’re selling and roughly how many products you’ll list
- Your brand name and domain — having a name ready speeds up the setup process
- Payment method — a business bank account or PayPal connected for payouts
- Basic brand assets — a logo, brand colors, and a short business description
You don’t need everything to be perfect. Shopify is flexible enough that you can always update your store later. What matters is getting the foundation right from the start.
From Zero to Live: How to Set Up a Shopify Store
Step 1: Create Your Shopify Account
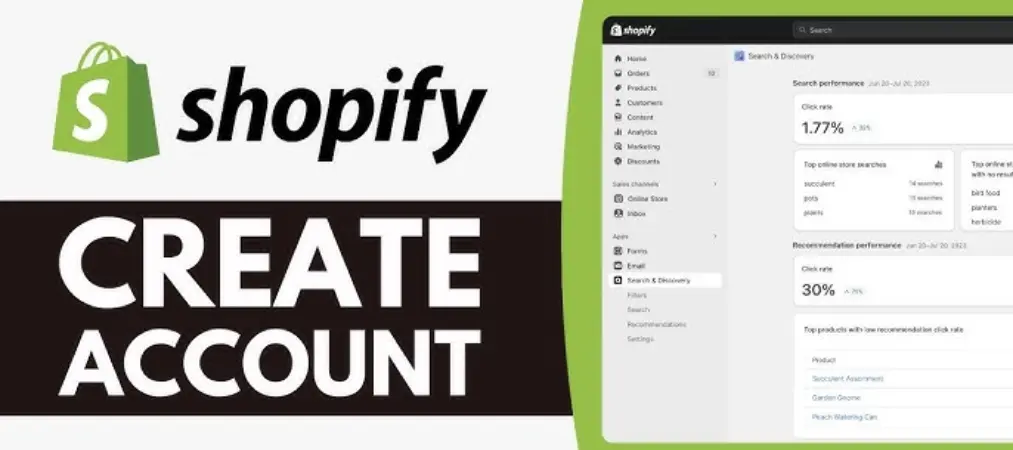
The first step to set up a Shopify store is creating your account. Go to Shopify.com and click “Start free trial.” You’ll be asked for your email address, a password, and a store name.
Your store name becomes part of your default Shopify URL (e.g., yourstore.myshopify.com), so choose something that reflects your brand. You can connect a custom domain later.
During signup, Shopify will ask a few quick questions about your business — whether you’re already selling, your revenue range, and what industry you’re in. These questions help Shopify personalize your dashboard experience, but they don’t lock you into anything.
Step 2: Configure Your Store’s Basic Settings
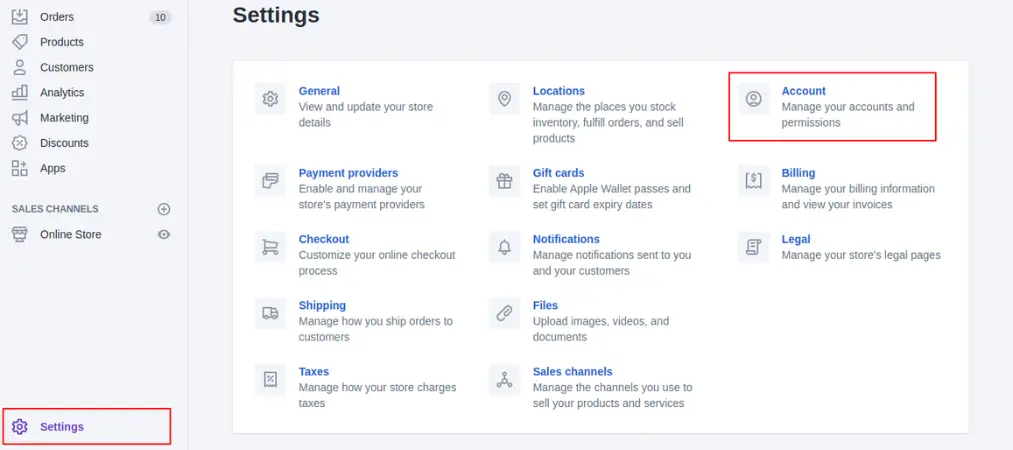
Once inside your Shopify admin, head to Settings (bottom left corner) and fill in your store details:
- Store name and contact information — your business address and email
- Store currency — choose the currency your customers will pay in
- Time zone — important for order timestamps and reports
- Unit system — metric or imperial, depending on your location
These might seem like small details, but they affect everything from invoices to shipping rates, so set them correctly from day one.
Step 3: Choose and Customize Your Theme

Your store’s visual design is the first thing customers experience. Shopify offers a library of free and paid themes. Go to Online Store > Themes and browse the options.
For beginners, a free theme like “Dawn” or “Sense” provides a clean, modern look with strong performance built in. Once you’ve selected a theme, click Customize to open the drag-and-drop editor.
Key things to update in your theme:
- Upload your logo to the header
- Set your brand colors and fonts to match your identity
- Update the homepage sections — hero banner, featured products, testimonials
- Write a short, compelling tagline that communicates your value clearly
A great visual design doesn’t require a designer. Focus on clarity, fast load times, and making it easy for shoppers to find what they’re looking for.
Step 4: Add Your Products
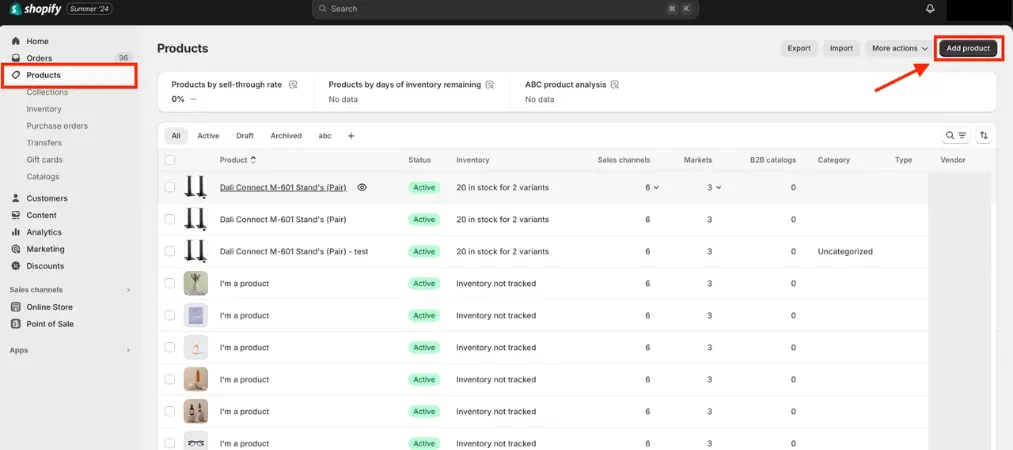
Adding products is often the most time-intensive part, but it’s where your store truly comes to life. Go to Products > Add product and fill in:
- Title and description — be clear, specific, and benefit-focused
- Images — use high-quality photos with clean backgrounds
- Price and compare-at price — to show discounts if applicable
- Inventory and SKUs — track stock levels accurately
- Variants — for different sizes, colors, or styles
- Weight — required if you’re shipping physical goods
Write product descriptions that answer real customer questions. Avoid vague phrases like “great quality” and instead focus on what makes each product genuinely useful or unique.
Once you have multiple products, organize them into Collections (Products > Collections). Collections work like categories — for example, “Men’s Clothing,” “Sale Items,” or “New Arrivals.” This makes navigation much easier for your shoppers.
Step 5: Set Up Payments and Shipping

Payments
Go to Settings > Payments to configure how you’ll accept money. Shopify Payments is the built-in option and the easiest to activate — it lets you accept credit cards directly with no third-party fees beyond Shopify’s standard rates. You can also add PayPal, Apple Pay, or Google Pay as additional checkout options.
If Shopify Payments isn’t available in your country, you can connect a third-party payment provider like Stripe or 2Checkout.
Shipping
Go to Settings > Shipping and delivery to set up your shipping zones and rates. For each zone (e.g., domestic, international), you can offer:
- Free shipping (a proven conversion booster)
- Flat-rate shipping
- Calculated rates based on carrier APIs (available on higher plans)
Make your shipping policy simple and transparent. Complicated shipping calculations are one of the top reasons customers abandon their carts.
Step 6: Add Essential Pages and Navigation
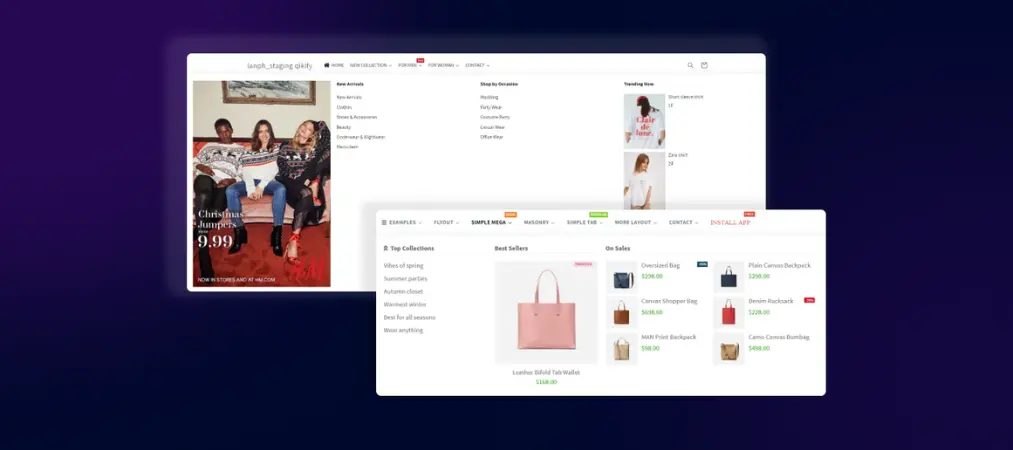
Customers expect certain pages before they trust a store enough to buy. At minimum, create:
- About Us — your story, mission, and what makes your brand different
- Contact Us — a form, email address, or phone number
- Shipping Policy — delivery timeframes and costs
- Return Policy — how refunds and exchanges work
- Privacy Policy — legally required in most regions (Shopify can auto-generate this)
Go to Online Store > Pages to create these pages, then add them to your footer menu via Online Store > Navigation. Your main navigation menu should also include links to your key collections and any promotional pages.
Step 7: Set Up a Custom Domain

Your default Shopify URL (yourstore.myshopify.com) works fine for testing, but a custom domain builds credibility. Go to Settings > Domains to either:
- Buy a domain through Shopify — easiest option, it connects automatically
- Connect a domain you already own — from GoDaddy, Namecheap, Google Domains, etc.
A custom domain like yourstore.com signals professionalism and makes your store easier to remember and find.
Step 8: Review and Launch
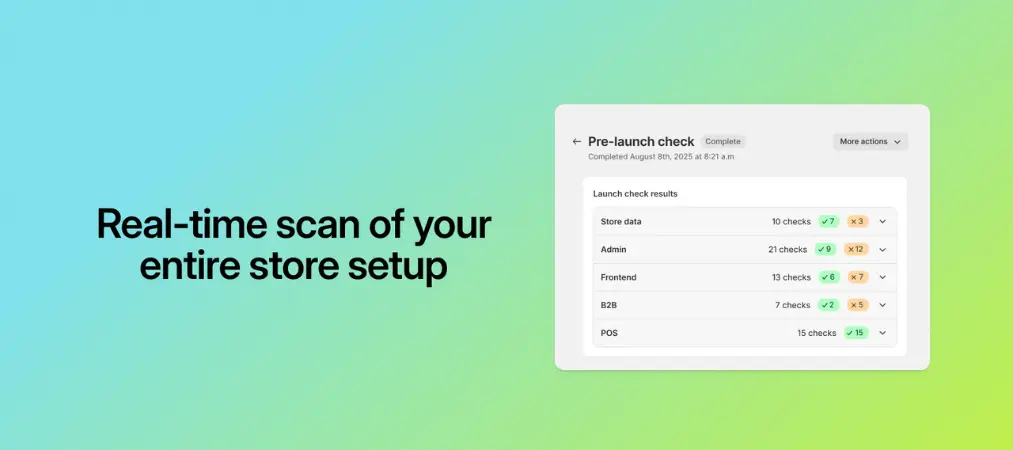
Before going live, run through this pre-launch checklist:
- Place a test order using Shopify’s Bogus Gateway to make sure checkout works
- Check your store on mobile — the majority of shoppers browse on their phones
- Review all product descriptions and prices for accuracy
- Confirm your shipping rates are calculating correctly
- Make sure your policies are linked in the footer
- Set up Google Analytics or Shopify Analytics to start tracking traffic from day one
When you’re satisfied, go to Online Store > Preferences and remove the password protection that’s keeping your store private. Your store is now live.
Pro Tips to Get More From Your Store After Launch
Setting up your store is just the beginning. Once you’re live, focus on these areas to drive growth:
Send professional order documents. Customers expect order confirmations and invoices that look polished. Tools like Vify Order Printer PDF Invoice let you generate branded PDF invoices automatically — a small detail that significantly boosts buyer trust and professionalism.
Optimize for search engines. Every product and collection page has an SEO section — fill in your page titles and meta descriptions with relevant keywords. This helps customers find your store through Google without paying for ads.
Use apps strategically. The Shopify App Store has thousands of tools for email marketing, upselling, reviews, loyalty programs, and more. Start lean — only install what you genuinely need.

Nail your post-purchase experience. The moment after someone buys is when loyalty is built or lost. Make sure your confirmation emails are clear, your shipping updates are timely, and your return process is painless. For more strategies on keeping customers coming back, explore how a customer loyalty program can turn first-time buyers into repeat customers.
Frequently Asked Questions About Setting Up a Shopify Store
Question: How long does it take to set up a Shopify store?
A basic Shopify store can be set up in as little as a few hours if you have your products and brand assets ready. A more polished store with custom pages, optimized product listings, and a configured shipping setup typically takes 1–3 days. The more products you have, the longer the product-upload phase will take.
Question: Do I need technical or coding skills to set up a Shopify store?
No. Shopify is specifically designed for non-technical users. The entire store — from design to checkout — can be built using drag-and-drop tools and simple settings menus. That said, if you want to make advanced customizations to your Shopify theme, knowing basic HTML/CSS can help, but it’s not required to launch.
Question: How much does it cost to set up a Shopify store?
Shopify offers a free trial so you can build your store before committing. After that, plans start at around $39/month (Basic plan). Additional costs may include a custom domain (around $14–$20/year), premium themes (one-time fee of $180–$350), and any paid apps you choose to install. Many stores launch successfully using only free themes and free apps.

Question: Can I set up a Shopify store without inventory?
Yes. If you don’t want to hold physical stock, dropshipping is a popular model where products are shipped directly from a supplier to your customer. Apps like DSers or Zendrop connect your Shopify store to suppliers automatically. You can also sell digital products or services — neither requires physical inventory.
Question: What is the difference between a Shopify domain and a custom domain?
When you create a Shopify store, you automatically get a free subdomain ending in .myshopify.com. This is fine for testing but looks unprofessional to customers. A custom domain (e.g., yourstore.com) is a separate purchase that you connect to your Shopify store to give it a clean, branded web address.
Final Thoughts
Learning how to set up a Shopify store step by step doesn’t have to be daunting. With the right approach — starting with your account, building out your products and pages, configuring payments and shipping, and reviewing before launch — you can have a fully professional store ready to take orders in a matter of days.
The key is to focus on getting the fundamentals right rather than chasing perfection. Your store will evolve as you learn what your customers want. What matters most is taking that first step and going live.