Table of Contents
So you’ve decided to start selling online — smart move. But before you dive in, it helps to understand not just what to click, but why each step matters. This guide walks you through how to build a Shopify store the right way, so you’re not just getting something live — you’re building something that actually converts.
Whether you want to sell physical goods, digital products, or dropship items, the process to build a store on Shopify is the same. And once you understand the logic behind it, the whole thing becomes surprisingly straightforward.
Table of Contents
Why Shopify Remains the Top Choice for Online Sellers
Before we get into the how, let’s quickly address the why. Shopify powers over 4.5 million online stores worldwide, and for good reason — it’s beginner-friendly without sacrificing the depth that growing businesses need.
Unlike piecing together a WordPress site with plugins, when you build a store on Shopify, everything lives under one roof: hosting, checkout, payments, inventory, and analytics. You’re not managing five different tools — you’re managing one. That reliability matters when you’re trying to grow.
Whether you want to sell physical goods, digital products, or dropship items, the process to build a store on Shopify is the same. If you’re considering the dropshipping route, it’s worth reading up on the pros and cons of dropshipping for Shopify stores before you commit to a product model. And once you understand the logic behind it, the whole thing becomes surprisingly straightforward.

Step 1 — Create Your Shopify Account
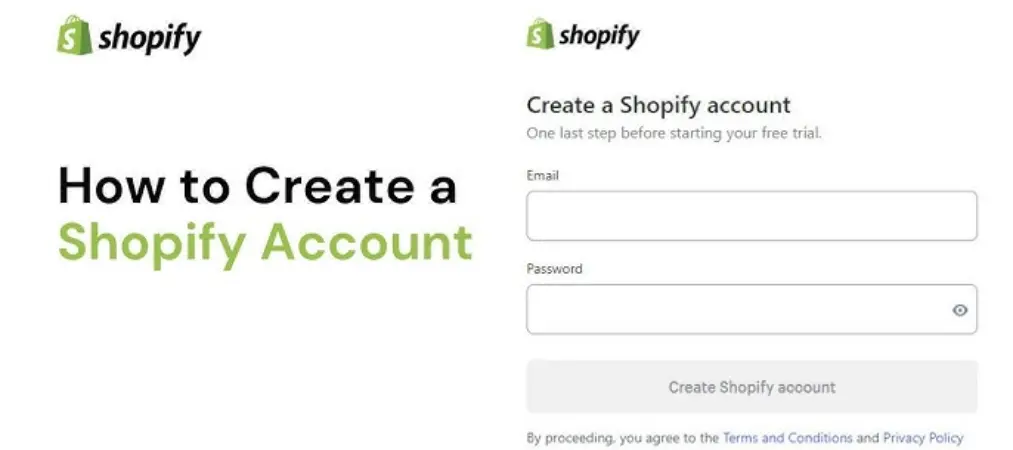
Head to Shopify.com and start a free trial. You’ll enter your email, create a password, and answer a few optional questions about your business. Skip them if you want — they don’t affect your store setup.
Once inside, you’ll land on the Shopify admin dashboard. This is your command center. Before you touch anything else, take 60 seconds to explore the left-hand sidebar. Familiarizing yourself with where things live saves you a lot of back-and-forth later.
Pro tip: Shopify regularly offers promotional pricing for new users (sometimes as low as $1/month for the first three months). Check their homepage for current deals before committing to a plan.
Step 2 — Choose and Configure Your Theme
Go to Online Store → Themes. Shopify’s free theme library is genuinely strong — don’t feel pressured to spend $200 on a premium theme before you’ve made your first sale.
When selecting a theme, think about your product type:
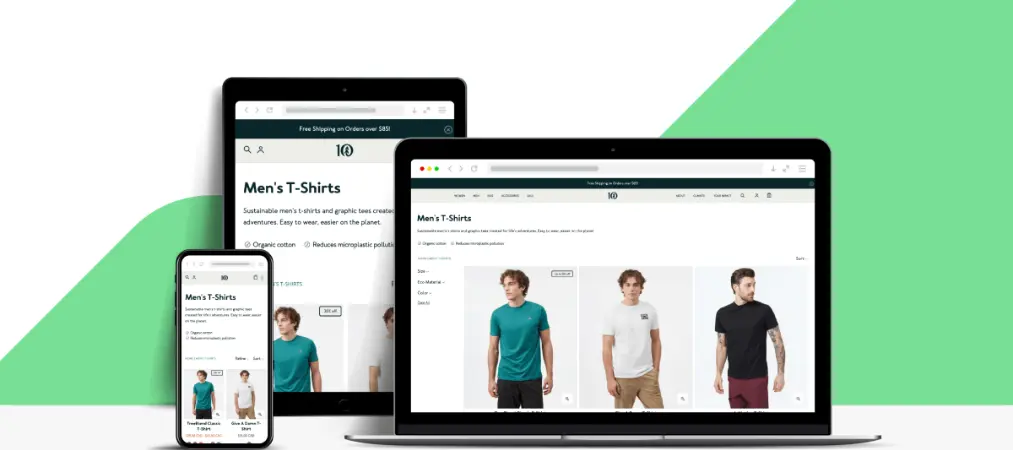
- Image-heavy products (clothing, art, décor) → choose a theme with large hero images and clean grid layouts.
- Single-product stores → look for themes built around a strong above-the-fold section.
- Catalog stores → prioritize themes with good filtering and category navigation.
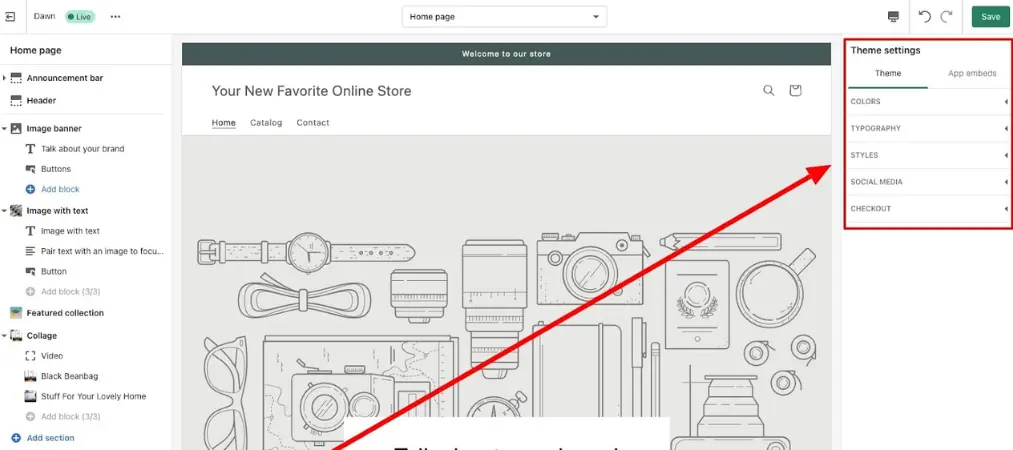
Once you select a theme, click Customize. This opens the visual editor where you can adjust colors, fonts, sections, and layout without touching any code.
A clean design principle to follow: stick to two main colors plus one accent, and use no more than two font families. Simple stores convert better than busy ones.
Simple stores convert better than busy ones. Once your theme is set, make sure you’re also familiar with the broader Shopify features every store owner should know — it’ll save you from missing tools that are already built into your dashboard.
Step 3 — Build Out Your Core Pages
This is where most beginners cut corners — and it costs them credibility.
Every store you build on Shopify should have these pages before going live:
Homepage — Your first impression. It should clearly communicate what you sell and who it’s for within the first three seconds of someone landing on it.
About Page — People buy from people. A short, genuine About page builds trust in a way that product descriptions simply can’t.
Contact Page — Shopify has a built-in contact form. Enable it. Customers who can’t easily reach you won’t buy.
Shipping Policy — This is non-negotiable. Shopify actually has a policy generator under Settings → Policies that creates a solid baseline you can customize.
Refund Policy — Same as above. Shopify generates this for you. Edit it to match your actual process.
To add pages: Online Store → Pages → Add Page. Then link them to your navigation under Online Store → Navigation.
Step 4 — Add Your Products the Right Way
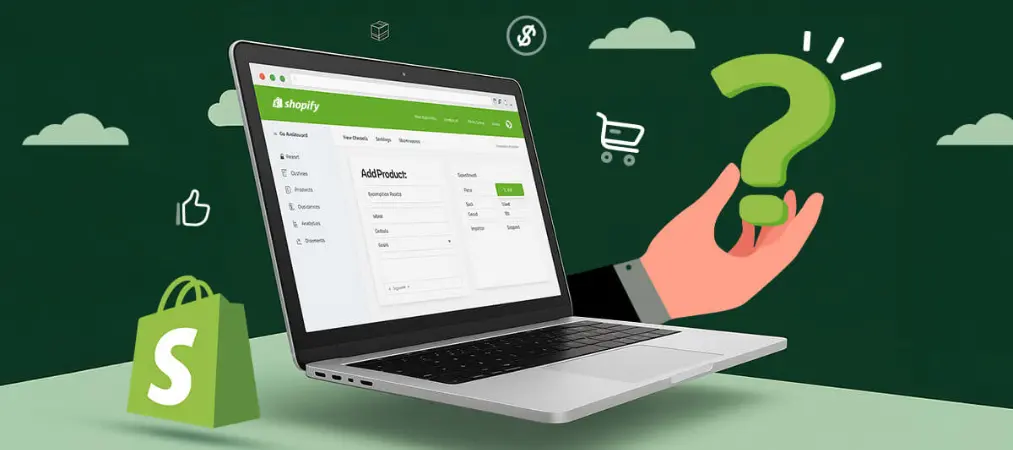
Go to Products → Add Product. Here’s where the difference between an average store and a high-converting store becomes visible.
Product Title: Be specific and clear. “Blue Ceramic Pour-Over Coffee Dripper” outperforms “Coffee Dripper” every time — for both customers and search engines.
Product Description: Don’t just list features. Lead with the benefit, then support it with features. Answer the question your customer is actually asking: “What does this do for me?”
Pricing: Enter both the price and the cost per item. Shopify calculates your margin automatically — use this to make informed pricing decisions, not guesses.
Variants: If your product comes in different sizes, colors, or materials, add them as variants rather than separate products. It keeps your catalog clean and makes inventory tracking easier.
Images: Use multiple angles. Shopify supports alt text on every image — fill it in with descriptive, keyword-relevant text. It helps with both accessibility and SEO.
Once you save your first product, it’s time to organize. Create Collections (essentially categories) to group related products. This improves navigation and helps customers find what they’re looking for faster.
Step 5 — Set Up Payments and Checkout
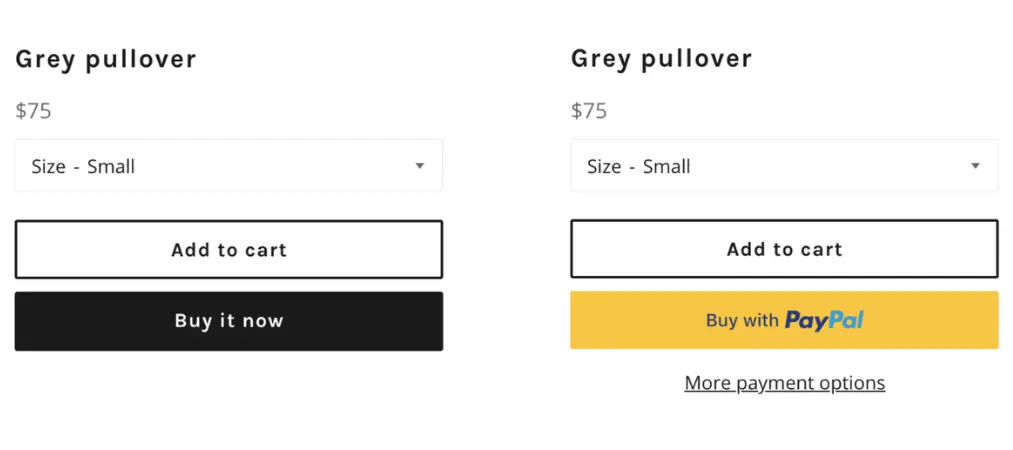
Go to Settings → Payments. Shopify Payments is the simplest option — it’s built in, requires no third-party gateway, and deposits directly to your bank account. If you’re in a country where Shopify Payments isn’t available, PayPal and Stripe are solid alternatives.
Under Settings → Checkout, review your checkout flow. Key decisions to make here:
- Require an account, allow guest checkout, or make accounts optional? (For most stores, optional is the best balance.)
- Which contact fields to collect.
- Whether to enable tipping — relevant for some product types, odd for others.
A faster, simpler checkout means fewer abandoned carts. Every extra field you add is a potential reason someone leaves.
Step 6 — Connect a Custom Domain
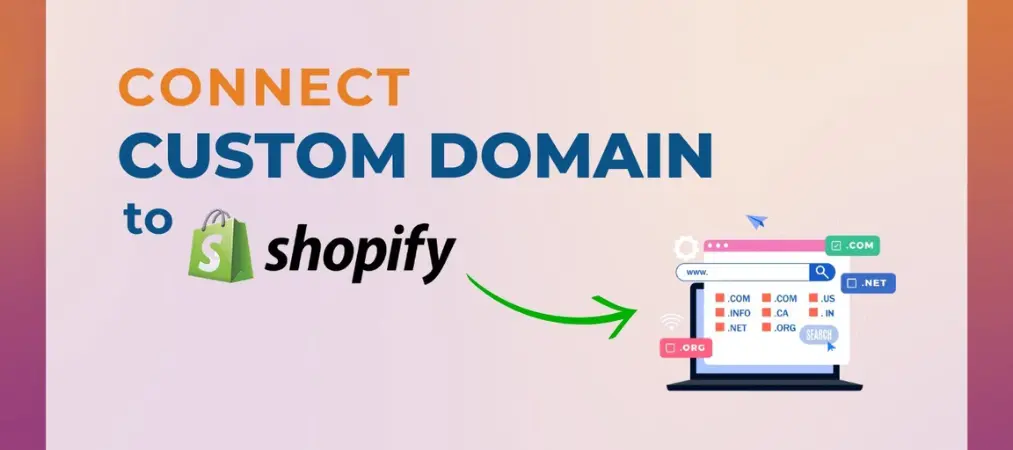
Shopify gives you a free domain in the format yourstore.myshopify.com. Use it for testing — but don’t launch publicly on it.
A custom domain signals professionalism. You can purchase one directly through Shopify under Settings → Domains, or buy from a registrar like Namecheap or Google Domains and connect it.
If buying through a third party: after purchasing your domain, you’ll need to update the DNS settings to point to Shopify’s servers. Shopify provides exact instructions when you click Connect Existing Domain — follow them step by step. DNS propagation takes anywhere from a few minutes to 48 hours.
Choose a domain name that is short, memorable, and easy to spell. Avoid hyphens and numbers. A .com is still the strongest option for credibility, though .store has been gaining traction in e-commerce specifically.
Step 7 — Select Your Plan and Go Live
Free trials are great for building, but you need a paid plan to accept real orders. Go to Settings → Plan and select the tier that fits your current stage.
For most beginners, the Basic plan is enough. It covers everything you need to start selling: unlimited products, two staff accounts, and all the core sales channels.
Once your plan is active, your store is visible to the public. Do a final check before announcing anything:
- Preview your store on mobile (over 70% of online shopping happens on phones)
- Place a test order to confirm checkout works
- Check that all navigation links lead to the right pages
- Confirm your shipping zones and rates are accurate
Marketing & Sales: How to Get Your First Customers
Knowing how to build a Shopify store is step one. Getting traffic and turning visitors into buyers is the ongoing work.
A few directions worth investing in early:
SEO — Fill in your product and collection meta titles and descriptions under Online Store → Preferences. Write page titles that include your main keywords. Shopify has basic SEO built in; use it.
Email capture — Add an email opt-in to your homepage before you spend a dollar on ads. A list of subscribers is an asset you own, unlike social followers.
Social proof — Even a handful of genuine reviews changes conversion rates significantly. Consider reaching out to early customers directly and asking for honest feedback.
Organic content — Whether it’s short-form video, a blog, or even just consistent posts on one platform, showing up where your potential customers spend time builds long-term trust.
Paid ads can accelerate growth, but they amplify what’s already working — not fix what isn’t. Get your store tight first.
Final Thoughts
Learning how to build a Shopify store doesn’t require technical skills, a huge budget, or weeks of setup. But many beginners make the mistake of treating their store as a one-time project and simply waiting for sales to happen. In reality, building the store is only the first step — long-term success comes from optimizing, marketing, and continuously improving your Shopify store.
What separates stores that succeed from ones that quietly disappear is consistent attention: to the product, the customer experience, and the marketing. The platform handles the infrastructure. The rest is on you.
Start simple. Iterate based on what you learn. And resist the urge to keep tweaking the design when you should be driving traffic.
To learn more about Vify Order Printer PDF Invoice and explore additional features for your Shopify store, visit the official website at https://orderprinter.vify.io/.