Table of Contents
Whether you’re launching your first online store or moving an existing business online, Shopify makes it remarkably accessible. You don’t need to write a single line of code to build a website on Shopify — just a clear vision, a few hours, and this guide.
Building an online presence used to mean hiring a developer, waiting weeks, and spending thousands before a single product was ever sold. Shopify changed that. Today, anyone — from a solo entrepreneur selling handmade goods to a growing brand scaling into new markets — can build a website with Shopify that looks professional, loads fast, and converts visitors into buyers. From securing your domain to setting up payments and going live, here’s everything you need to make a website on Shopify that looks great and sells — even if you’ve never built a website before.
Table of Contents
Why Build a Website With Shopify?
Shopify isn’t just an ecommerce tool — it’s a complete website platform. When you build a website with Shopify, you get built-in hosting, an intuitive drag-and-drop editor, mobile-responsive themes, integrated payments, and marketing tools all in one place. There’s no need to juggle multiple platforms or hire a developer just to get started.
It’s trusted by millions of businesses worldwide for good reason: it scales with you. Whether you’re selling five products or five thousand, Shopify has the infrastructure to support your growth.

What You Need Before You Start
Before jumping into the builder, take a moment to get clear on:
- What you’re selling — physical products, digital downloads, services, or all three
- Who your audience is — defining your ideal customer shapes every design and content decision
- Your brand identity — a logo, color palette, and tone of voice help you pick the right theme and create a consistent experience
- Your business goals — selling, lead generation, content publishing, or brand awareness each require a different site structure
Getting these answers upfront prevents you from rebuilding pages later.
How to Build a Website on Shopify: 8 Steps
Step 1: Sign Up and Start Your Free Trial

Head to shopify.com and click Start free trial. No credit card required. Enter your email, create a password, and choose a store name — this will form your default Shopify URL, so pick something relevant to your brand.
Shopify will ask a few onboarding questions about your business type and what you plan to sell. Answer honestly — the platform uses this to personalize your dashboard setup.
Once inside, you’ll land in the Shopify admin, your central hub for building and managing everything.
Step 2: Secure Your Domain Name
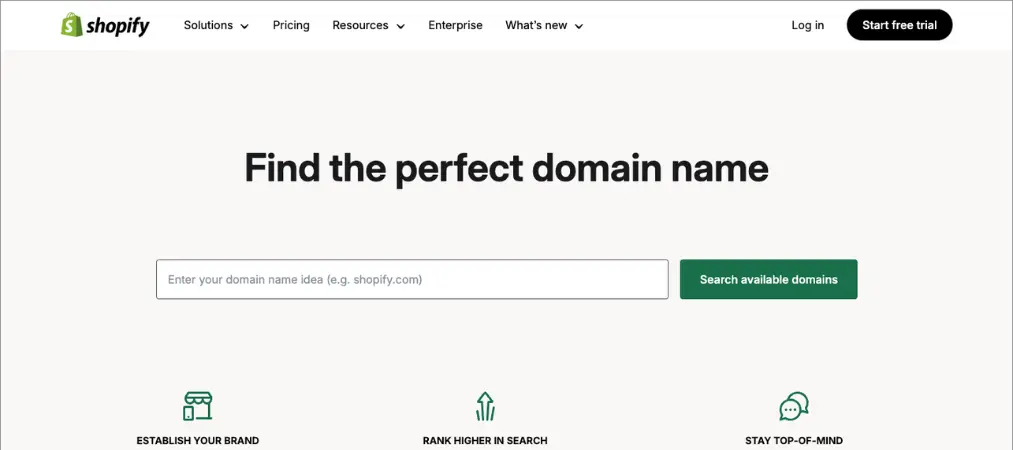
Your domain name is your website’s address — it’s how people find you and how search engines identify you. Shopify provides a free default subdomain (yourstore.myshopify.com), but for a professional presence, you’ll want a custom domain.
You can buy one directly through Shopify or connect an existing domain from providers like GoDaddy or Google Domains. Tips for choosing well:
- Keep it short and easy to spell
- Reflect your brand name where possible
- Avoid hyphens and numbers
- Aim for a .com extension if available
Shopify domains come with free SSL certificates and WHOIS privacy protection built in. If you plan to grow, choose carefully — changing domains later creates SEO headaches.
Step 3: Choose and Customize Your Theme
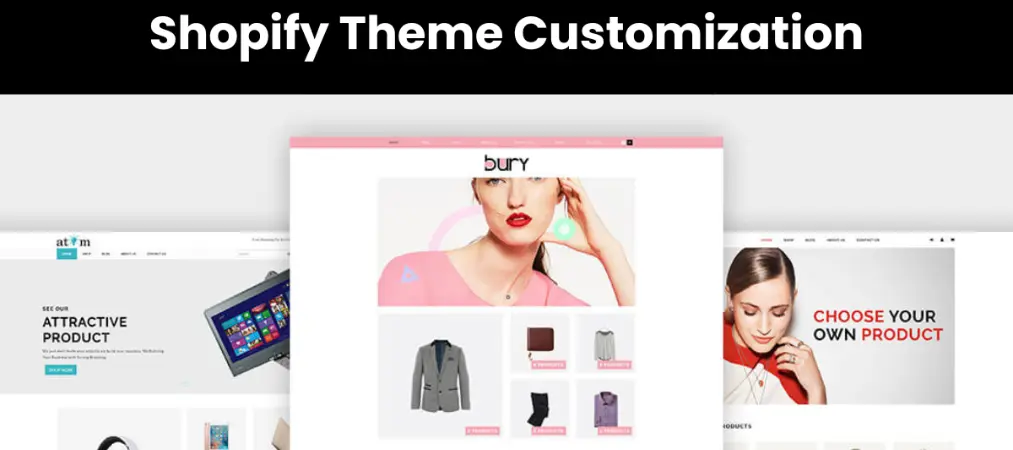
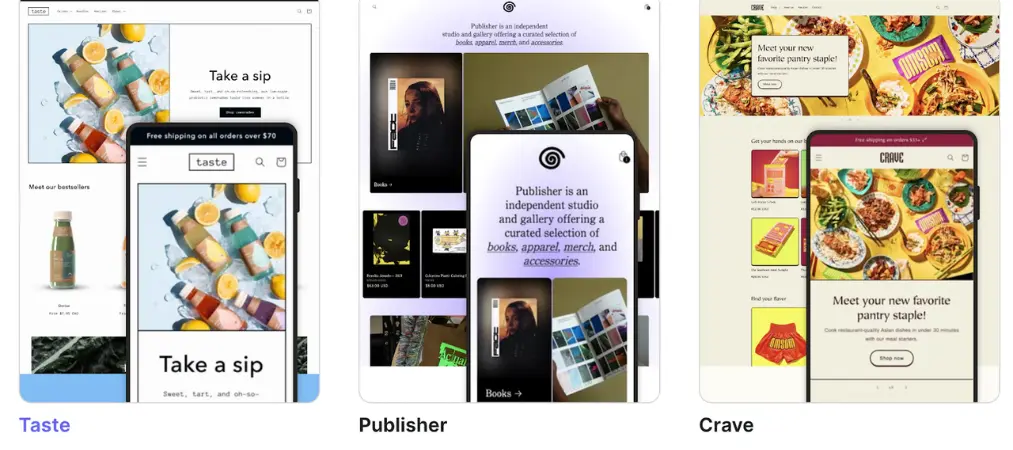
Go to Online Store > Themes in your Shopify admin to browse the Shopify Theme Store. There are 100+ themes available — some free, many paid — each designed for different industries and catalog sizes.
When selecting a theme, don’t just chase aesthetics. Consider:
- Layout options — does it support your product volume and content type?
- Built-in features — search bars, media sections, testimonial blocks?
- Mobile experience — most shoppers browse on their phones, so test mobile previews
- Speed — a beautiful theme that loads slowly kills conversions
Once you’ve installed a theme, use the Customize editor to adjust colors, fonts, your logo, and section layouts. You’re never permanently locked to a theme, but applying consistent brand elements from the start saves time.
Step 4: Build Out Your Key Pages
A well-structured site builds trust before a visitor ever reaches checkout. From your Shopify admin, go to Online Store > Pages to start creating:
Homepage — Your first impression. Lead with a strong banner, highlight your top products or categories, and direct visitors clearly to where you want them to go.
Product Pages — Go to Products > Add product to create individual listings. Add detailed descriptions, multiple high-quality images, pricing, variants (size, color), and stock levels. Organize products into collections for easier browsing and better SEO.
About Page — Tell your brand story. Visitors want to know who’s behind the store. Authenticity builds trust and drives conversions.
Contact Page — Make it easy for customers to reach you. Include a contact form, email, and any live chat links.
FAQ Page — Answer the questions your customers ask before they ask your support team. Link to it from your live chat and product pages to reduce friction at checkout.
Policy Pages — Returns, shipping, privacy, and terms. Shopify has free generators for all of these under Settings > Policies.
Step 5: Set Up Your Navigation and Site Structure
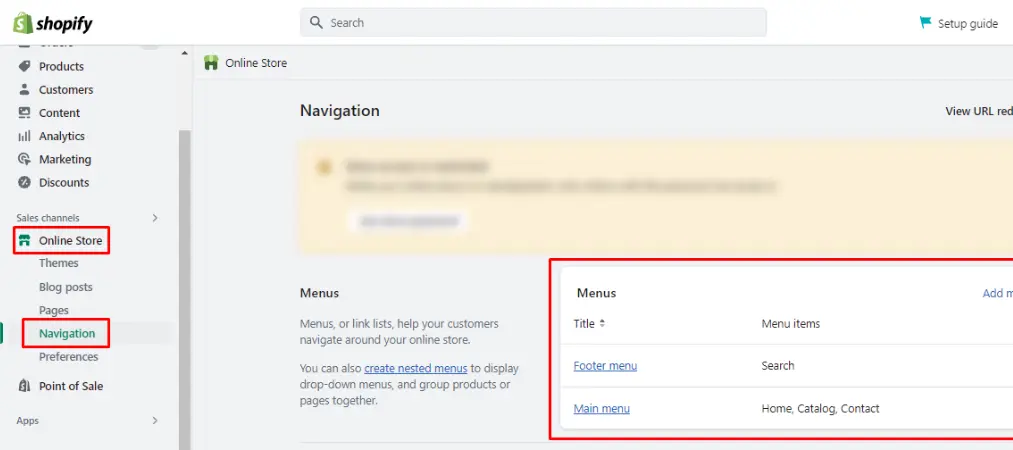
Go to Online Store > Navigation to build your header and footer menus. Clear navigation is one of the most underrated conversion tools — if visitors can’t find what they need in seconds, they leave.
Best practices:
- Keep the main menu to 5–7 items maximum
- Use dropdown menus for categories with multiple subcategories
- Add a search bar so users can find specific products fast
- Link your most important pages (like Sale or New Arrivals) prominently
A clean, logical structure also signals to search engines how your content is organized — which helps with rankings.
Once your products are live, keeping your order documents organized becomes just as important. Learn how a Shopify invoice generator can save you hours each week and keep your store looking professional from day one.
Step 6: Connect a Payment Gateway
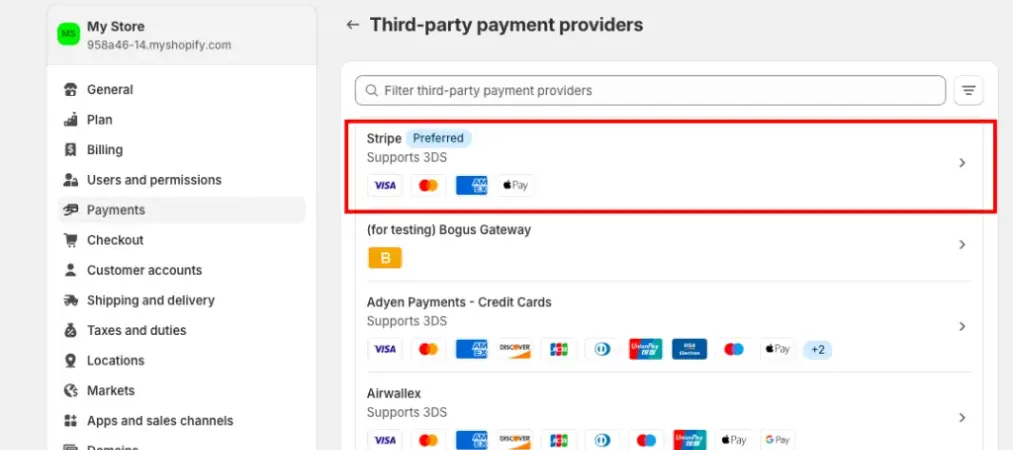
No website is a store without payments. Go to Settings > Payments and activate Shopify Payments to accept all major credit and debit cards natively — no third-party setup needed.
You can also enable express checkout options like Shop Pay, Google Pay, Apple Pay, and PayPal to reduce friction at checkout. Buy-now-pay-later options like Shop Pay Installments and Klarna are worth adding if your products carry higher price points.
If you operate in a market where Shopify Payments isn’t available, there are hundreds of third-party gateway integrations available through the Shopify App Store.
Ensure your checkout page is clean: show delivery estimates, tax totals, and trust badges (SSL, secure payment icons) clearly. Every unnecessary step or surprise cost is a reason for customers to abandon their cart.
Step 7: Optimize Your Site for Search Engines
Building a great-looking site is only half the job — you need people to find it. Here’s how to make a website on Shopify that’s SEO-ready from day one:
- Page titles and meta descriptions — every page and product should have a unique, keyword-rich title under 60 characters and a meta description under 160 characters
- URL structure — keep slugs short and descriptive (e.g., /products/leather-wallet, not /products/12345)
- Image alt text — describe every image for both accessibility and search engine indexing
- Headings — use H1 for page titles, H2/H3 for sections, incorporating your target keywords naturally
- Blog content — Shopify has a built-in blog feature. Publishing helpful, relevant content regularly builds domain authority and drives organic traffic over time
- Site speed — compress images, choose a lightweight theme, and avoid loading too many unnecessary apps
Shopify handles technical SEO basics like sitemaps and canonical tags automatically, which gives you a solid foundation.
Step 8: Preview, Test, and Launch
Before going live, run through this checklist:
- Preview your store on both desktop and mobile
- Click every navigation link to ensure nothing is broken
- Place a test order to verify the checkout flow, payment processing, and order confirmation emails
- Check that all product images load correctly and descriptions are accurate
- Review your policy pages and ensure they’re linked in the footer
- Confirm your domain is connected and SSL is active
Before finalizing your app stack, it’s also worth reviewing the must-know Shopify features for store owners to make sure you’re not missing any built-in tools that could save you money on third-party apps.
Once everything checks out, remove your storefront password under Online Store > Preferences to open your site to the public. You’re live.
After Launch: Keep Building Momentum
A published website is a starting point, not a finish line. To grow your Shopify site after launch:
- Run promotions — first-purchase discounts, flash sales, and seasonal campaigns drive early traffic and conversions
- Install analytics tools — connect Google Analytics and use Shopify’s built-in dashboard to track what’s working
- Collect and display reviews — social proof is one of the highest-ROI trust signals you can add
- Iterate based on data — watch your bounce rates, top exit pages, and conversion funnels, then make improvements accordingly
- Explore the Shopify App Store — with 8,000+ apps, you can add loyalty programs, email marketing, upsells, live chat, and more without custom development
Frequently Asked Questions
Q: Do I need coding skills to build a website on Shopify?
No. Shopify’s drag-and-drop editor and pre-built themes let you create a fully functional website without writing any code. Advanced customization is possible with HTML/CSS, but it’s entirely optional.
Q: How much does it cost to build a website with Shopify?
Shopify offers a free trial, after which paid plans start at around $39/month (Basic). During promotions, you can often get your first few months for as little as $1/month. The plan includes hosting, SSL, and the website builder.
Q: Can I use my own domain name with Shopify?
Yes. You can purchase a new domain through Shopify Domains or connect an existing one from any domain registrar. Custom domains give your store a more professional appearance and improve brand trust.
Q: What happens if I want to change my theme after launch?
You can switch themes at any time from your Shopify admin. Your products, pages, and content are preserved — only the design changes. It’s recommended to back up your store before making major theme switches.
Ready to Build Your Shopify Website?
It is not necessary to be overwhelming to build a website on Shopify. With the right platform, a clear plan, and the steps outlined in this guide, you can go from zero to a fully functional online store faster than you might think. Focus on the fundamentals first — a clean design, well-structured pages, seamless checkout, and solid SEO — then layer in more advanced features as your business grows. The most important step is simply getting started. Every successful Shopify store began exactly where you are right now.
If you’re looking to streamline your store operations even further, check out Vify Order Printer — a powerful tool to help you print professional invoices, receipts, and packing slips directly from your Shopify admin.